This is a comprehensive guide to generating professional, multi-page proposals on Google Docs directly from your Airtable base using DocsAutomator — for free. We focus on marketing agency use cases. You can modify the marketing services proposal template across other industries too.
If you run a marketing agency, you know the issue with ‘Proposals.’
On one hand, the proposal is the most critical document you produce. It is the bridge between a lead and a paying client. It needs to be persuasive, beautifully branded, and hyper-personalized to the client's needs.
On the other hand, creating them is often the most dreaded administrative task in the marketing agency business.
You have all your data stored perfectly in Airtable—client details, project scope, pricing, and timelines. Yet, when it comes time to create the document, you find yourself manually copying and pasting that data into a Word document or a static slide deck. Or worse, you’re wrestling with Airtable’s native Page Designer, trying to force a multi-page scope of work into a tool designed for single-page flyers.
It doesn’t have to be this way.
In this tutorial, we are going to build a fully automated Marketing Services Proposal engine.
We will turn your Airtable base into a proposal generator that creates stunning, custom-branded multi-page PDFs with a single click.
The Secret Weapon: The Airtable → DocsAutomator → Google Docs
We aren't going to use a clunky all-in-one tool. We are going to use the best tools for each specific job:
- Google Docs for Design: Because it’s free, easy to use, and allows for perfect branding freedom.
- Airtable for Data: Because it handles your relational data, pricing logic, and client details better than anything else.
- DocsAutomator for Automation: The bridge that connects the two, turning raw data into polished documents instantly.
Ready to automate your marketing agency’s sales pipeline? Let’s build it.
Prerequisites

Before we dive in, ensure you have the following ready:
- An Airtable account (Free or Paid) with a base set up for your CRM or Sales Pipeline. You can explore their Sales and CRM template collection to instantly get started. In our example to showcase the workflow, we will use the ‘Simple Sales CRM’ template from Airtable. You need to customize this Airtable base to include information required for your proposal template in Google Docs based DocsAutomator template.
- A DocsAutomator account (The free plan allows you to generate up to 20 documents per month, which is perfect for testing this workflow) — sign up here
- Google Drive connected to your DocsAutomator account.
Step 1: Get the ‘Marketing Services Proposal’ Template by DocsAutomator
The first step in automation is standardization. You need a template that looks incredible but is structured to accept dynamic data.
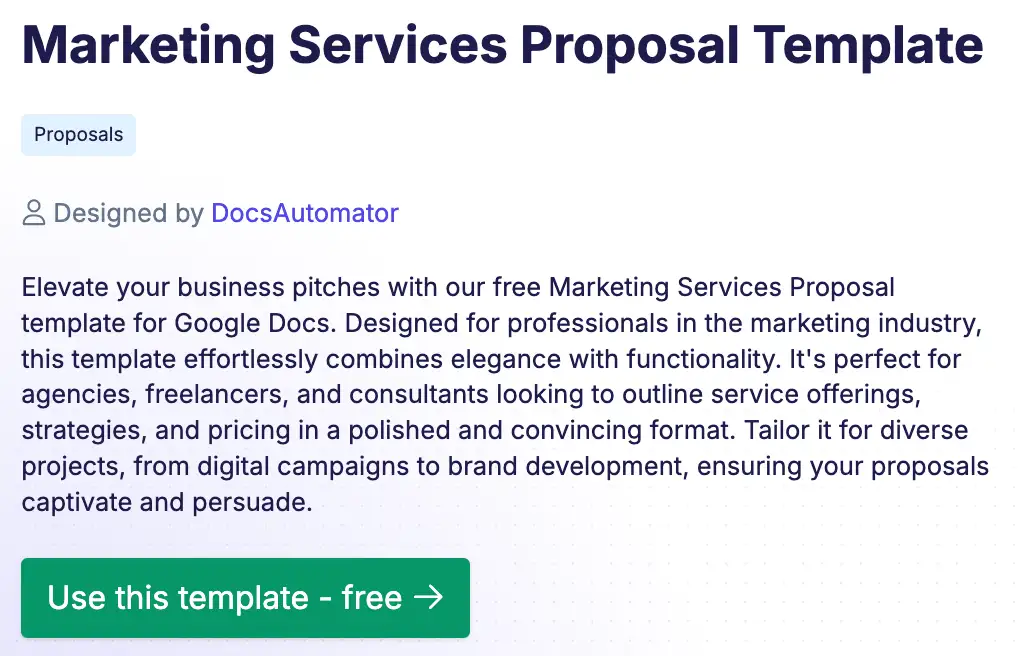
We have created a professionally designed Google Docs template specifically for marketing agencies. It includes sections for a cover page, executive summary, dynamic scope of work (SOW), project timeline, and pricing table.
1. Access the Template: Click here to open the free Google Docs marketing services proposal template. Then, click on ‘Use this template – free’ button to get started.
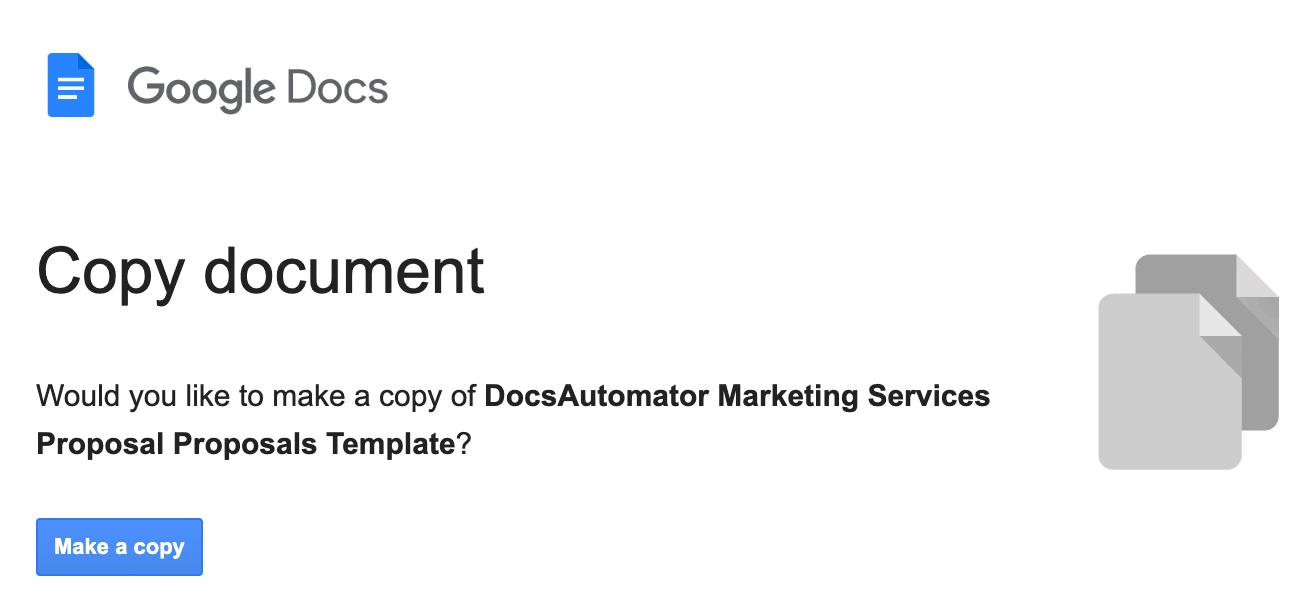
2. Save to Your Drive: Click ‘Make a Copy’ to save an editable version to your own Google Drive.
- Brand It: Now, make it yours.
- Update project details across goals and deliverables.
- Fonts and Colors: Update the headers and body text to match your brand guidelines.
- Static Content: Rewrite the ‘About Us’ or ‘Our Process’ sections with your agency's standard boilerplate text.
Understanding the DocsAutomator Syntax

As you edit, you will notice text wrapped in curly brackets, like {{Client Name}} and {{Submission Date}}. These are variables. They tell DocsAutomator, “Don't print this text; replace it with data from Airtable.”
You will also see a table row labeled {{line_items_1}}. Do not delete this. This is the key loop that will allow your pricing table to grow dynamically based on the number of services you are pitching.
Learn more about Google Docs template syntax and features — DocsAutomator Google Docs Template Guide and our Docsautomator YouTube Channel
Step 2: Structure Your Airtable Base
For a proposal automation to work effectively, your data structure must mirror the document structure. A proposal usually consists of ‘Parent’ data (info about the deal itself) and ‘Child’ data (the list of specific services or deliverables).
If you haven't already, set up your Airtable base with these two tables:
Table A: ‘Proposals’ (The Parent Table)
This table holds the high-level details for the document. Airtable helps creating this table using its AI tools — simply paste the bullet points and it will generate the tables for you, like this:

- Client Name: (Single Line Text or Link to a ‘Clients/Contacts’ table)
- Proposal Date: (Date field)
- Executive Summary: (Long Text field) — Pro Tip: Use this to write a custom, 2-3 sentence intro for each specific deal.
- Status: (Single Select: ‘Draft’, ‘Generate’, ‘Sent’)
- Generated Proposal: (Attachment field) — This is where the final PDF will land.
- Line Items: (Linked Record field linking to Table B)
Table B: ‘Proposal Line Items’ (The Child Table)

This table holds the individual services, deliverables, or costs that make up the proposal.
- Item Name: (Single Line Text) — e.g., ‘SEO Audit’, ‘Social Media Management’
- Description: (Long Text) — e.g., ‘Comprehensive audit of onsite technicals…’
- Price: (Currency)
- Proposal Link: (Linked Record field pointing back to the ‘Proposals’ table)
Why this structure matters:
This ‘One-to-Many’ relationship (One Proposal has Many Line Items) is the key to automation. It allows you to pitch 3 services to Client A and 20 services to Client B using the exact same template.
Step 3: Connect DocsAutomator
Now that your data and template are ready, let's bridge them.
- Log in to your DocsAutomator dashboard.
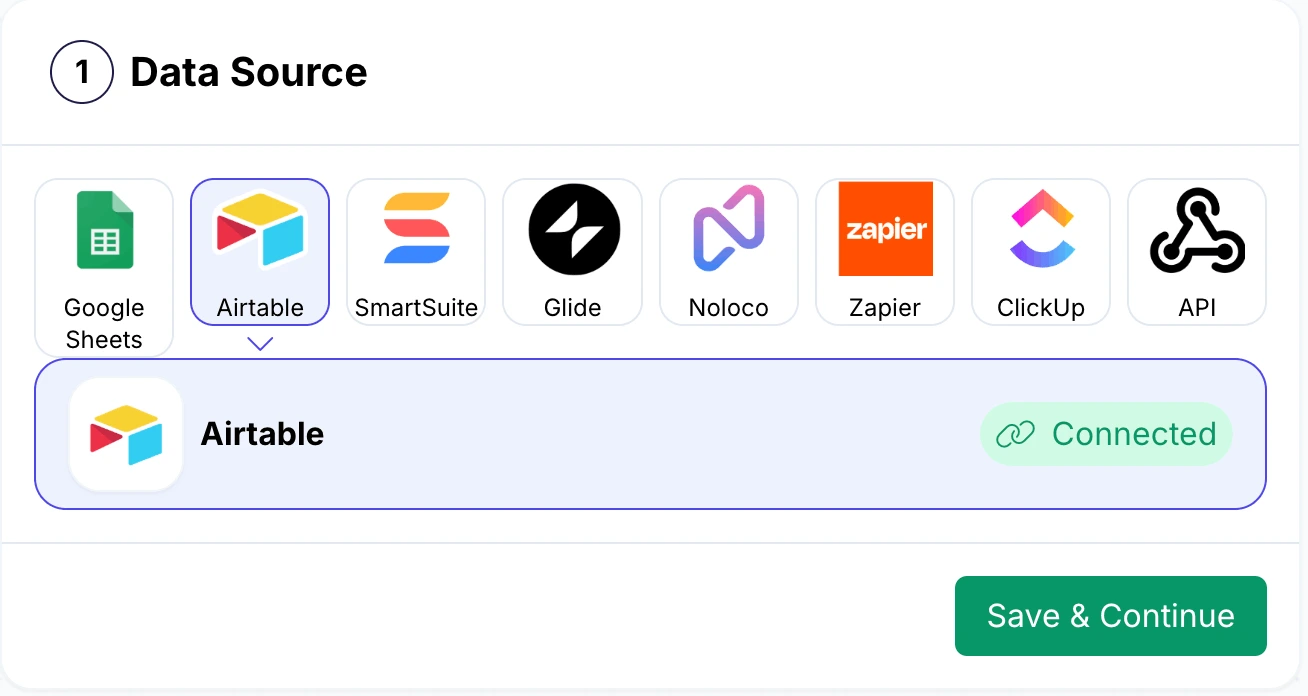
- Click ‘New Automation’.

- Select Data Source: Choose Airtable. (If this is your first time, you'll paste your Airtable Personal Access Token—it takes 30 seconds).
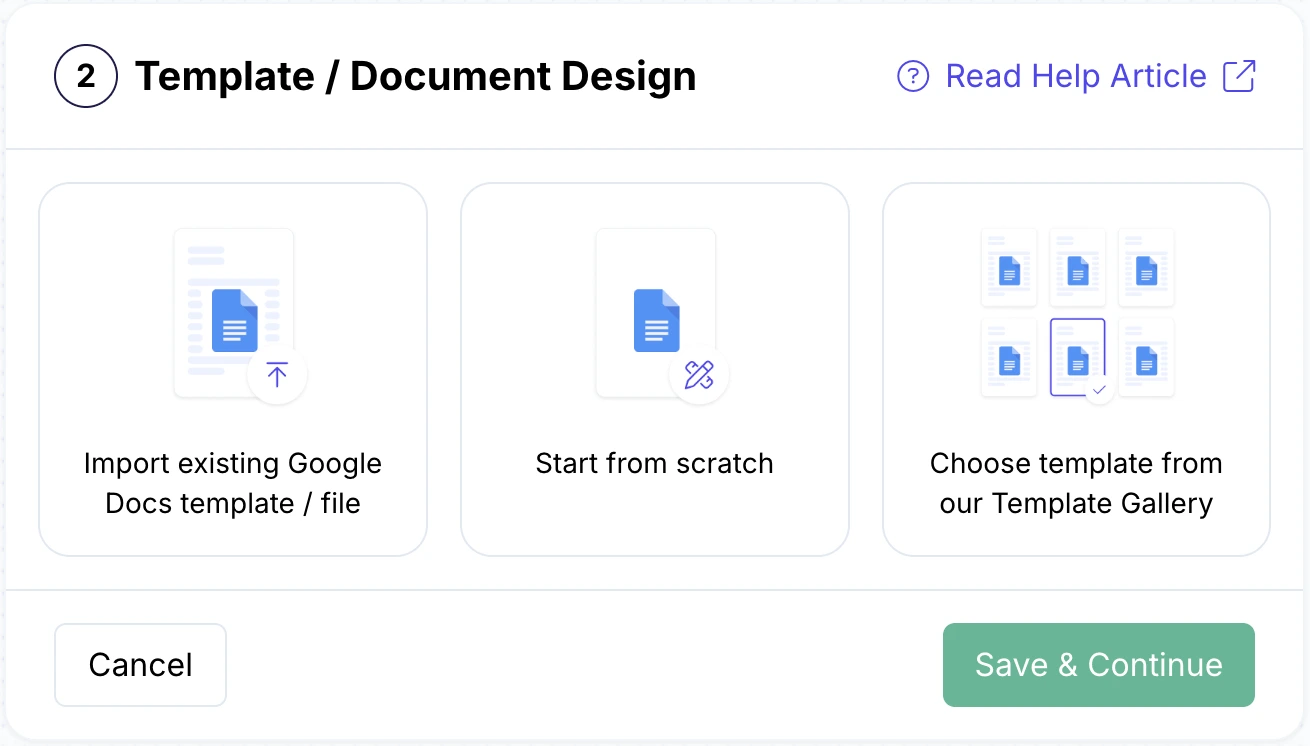
- Select Template: A Google Drive picker will appear. Select the Marketing Services Proposal Template you customized in Step
Step 4: Map Your Data (Text and Images)
Select Base and Table: Choose the Base you worked on in Step 2, and select the ‘Proposals’ table (the Parent table) as your primary data source.
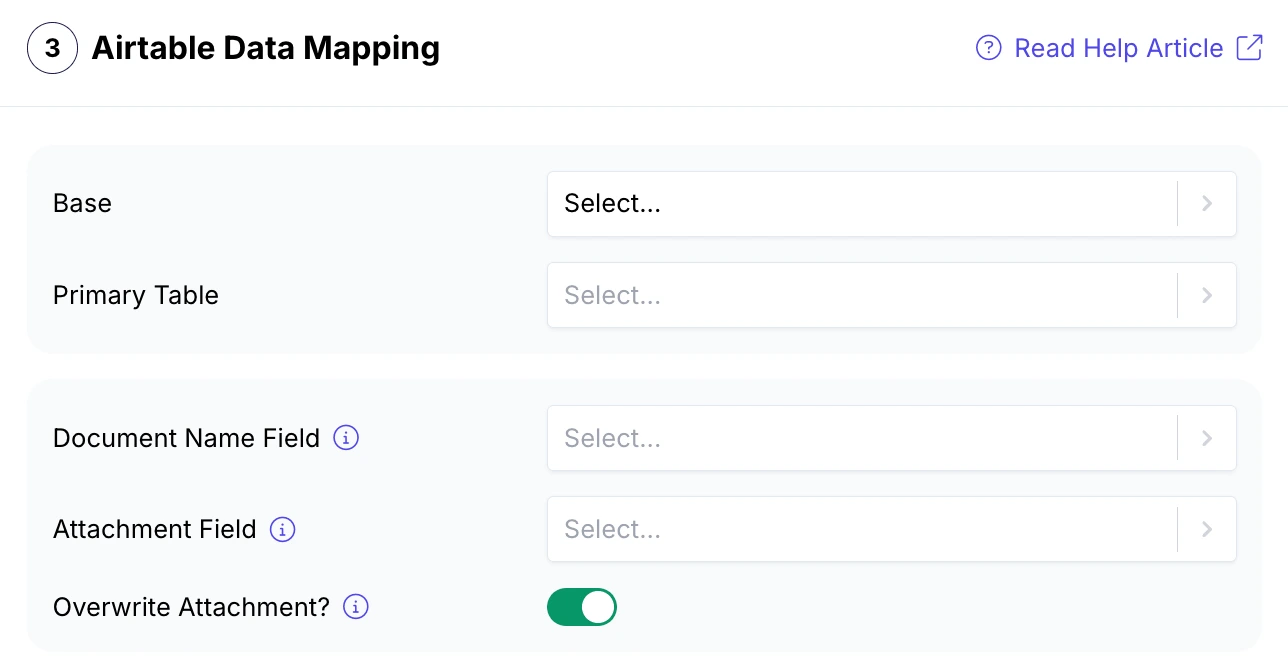
This is where the magic happens. DocsAutomator will scan your Google Doc, find every placeholder (like {{Client Name}}), and present you with a mapping screen. Your job is simply to tell it which Airtable field matches which placeholder.
Learn more about this process in this tutorial:
Mapping Basic Text
- {{Client Name}} → Map to your Airtable ‘Client Name’ field and other details.
- {{Submission Date}} → Map to your ‘Proposal Date’ field. (You can even choose your preferred date format, e.g., ‘MM/DD/YYYY’ or ‘November 30, 2025’).
- {{Executive Summary}} → Map to your ‘Executive Summary’ field.

Mapping Dynamic Images (Branding)
Want to take it to the next level? Let's say you want the Client's Logo to appear on the cover page.
- In your Google Doc, ensure you have a placeholder like {{image_client_logo}}.
- In the DocsAutomator mapping screen, find image_client_logo.
- Select the Attachment field in Airtable that contains the client's logo file.
- Critical Step: Set the ‘Max Width’ setting (e.g., 200px). This ensures that even if you upload a massive 4000px logo file to Airtable, DocsAutomator will resize it perfectly to fit your cover page design.
Learn more about dynamic images here:
Step 5: Master the Line Items (The Dynamic SOW)
This is the most powerful feature of DocsAutomator and the main reason agencies choose it over native tools. We need the ‘Scope of Work’ table in your PDF to expand dynamically.
- On the mapping screen, scroll down to the ‘Line Items’ section.
- You will see the variable {{line_items_1}} (detected from your template).
- Select the Linked Record: DocsAutomator will ask, "Where is the list of items?" Select the Linked Record field in your ‘Proposals’ table that points to ‘Line Items’.
- Map the Columns: Now, map the data inside that linked table:
- Map {{Item Name}} to the ‘Item Name’ field in the child table.
- Map {{Description}} to the ‘Description’ field.
- Map {{Price}} to the ‘Price’ field.
The Result: When the automation runs, if a proposal has 10 linked line items, DocsAutomator will generate 10 rows in the PDF table. If the list is long, it will gracefully flow onto the next page, repeating headers automatically—something Airtable's Page Designer simply cannot do.
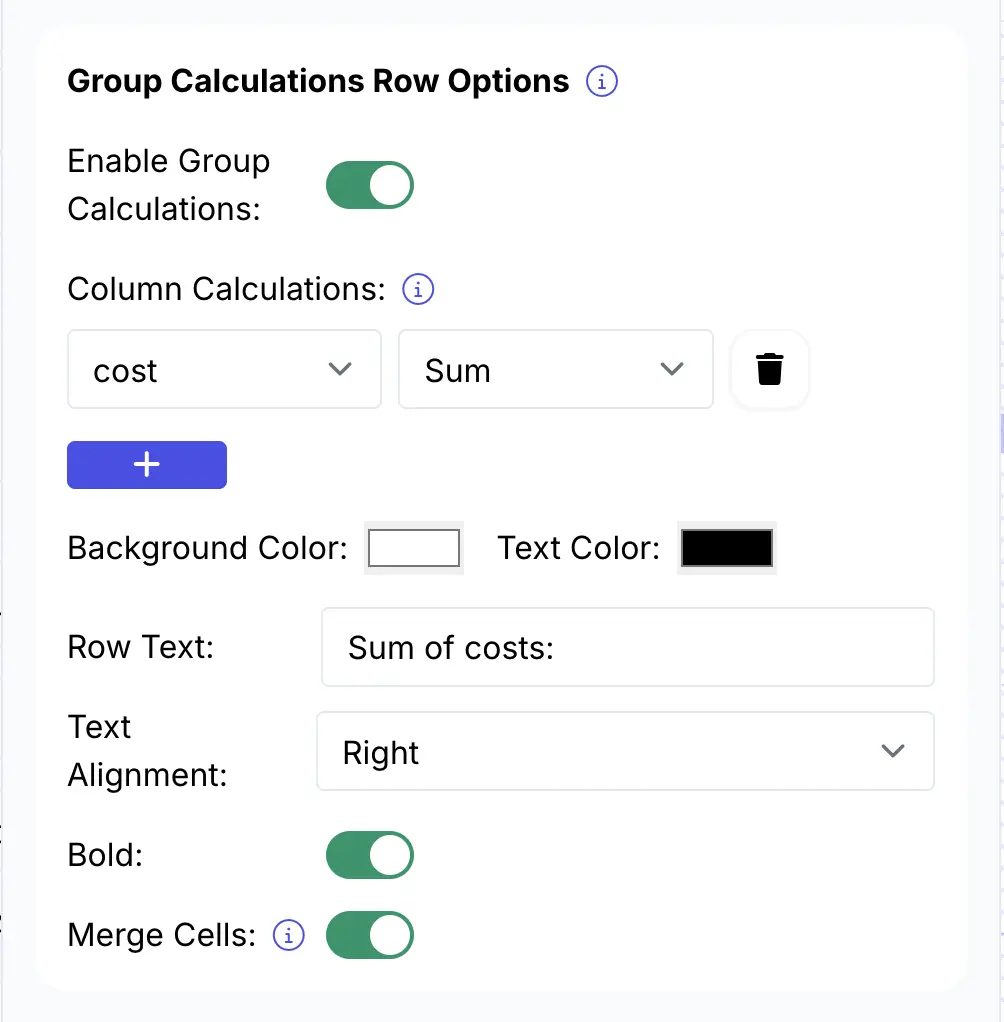
Learn more about line items and advanced features like grouping and calculations:
Step 6: Automate the Proposal Document Generation
Here’s the documentation for — Document Generation Automation on Airtable
You have two main ways to trigger the document creation:
Option A: The ‘Button’ Method (Best for Control)
This allows you to review data before generating.
- In your Airtable ‘Proposals’ table, create a ‘Button’ field.
- In DocsAutomator, go to the ‘Integrations’ tab and copy the Script provided for Airtable.
- In Airtable, add the Scripting Extension (available on free plans too), paste the code, and link it to your button.
- Workflow: You click ‘Generate Proposal.’ The script runs, DocsAutomator builds the PDF, and it saves the file directly back into your ‘Generated Proposal’ attachment field.
Option B: The ‘Automation’ Method (Best for Speed)
This runs entirely in the background.
- Go to Airtable Automations.
- Trigger: "When record matches conditions" → Status is ‘Generate’.
- Action: ‘Run Script’ (Paste the same DocsAutomator code).
- Workflow: You change the status dropdown to "Generate". 10 seconds later, the PDF appears in the attachment field.
Step 7: Advanced Customizations
Once you have the basics working, you can make your proposals truly intelligent using Conditional Logic.
Scenario 1: Hide Irrelevant Services
Does your agency offer both ‘SEO’ and ‘Social Media,’ but you don't want to show empty sections for services the client isn't buying?
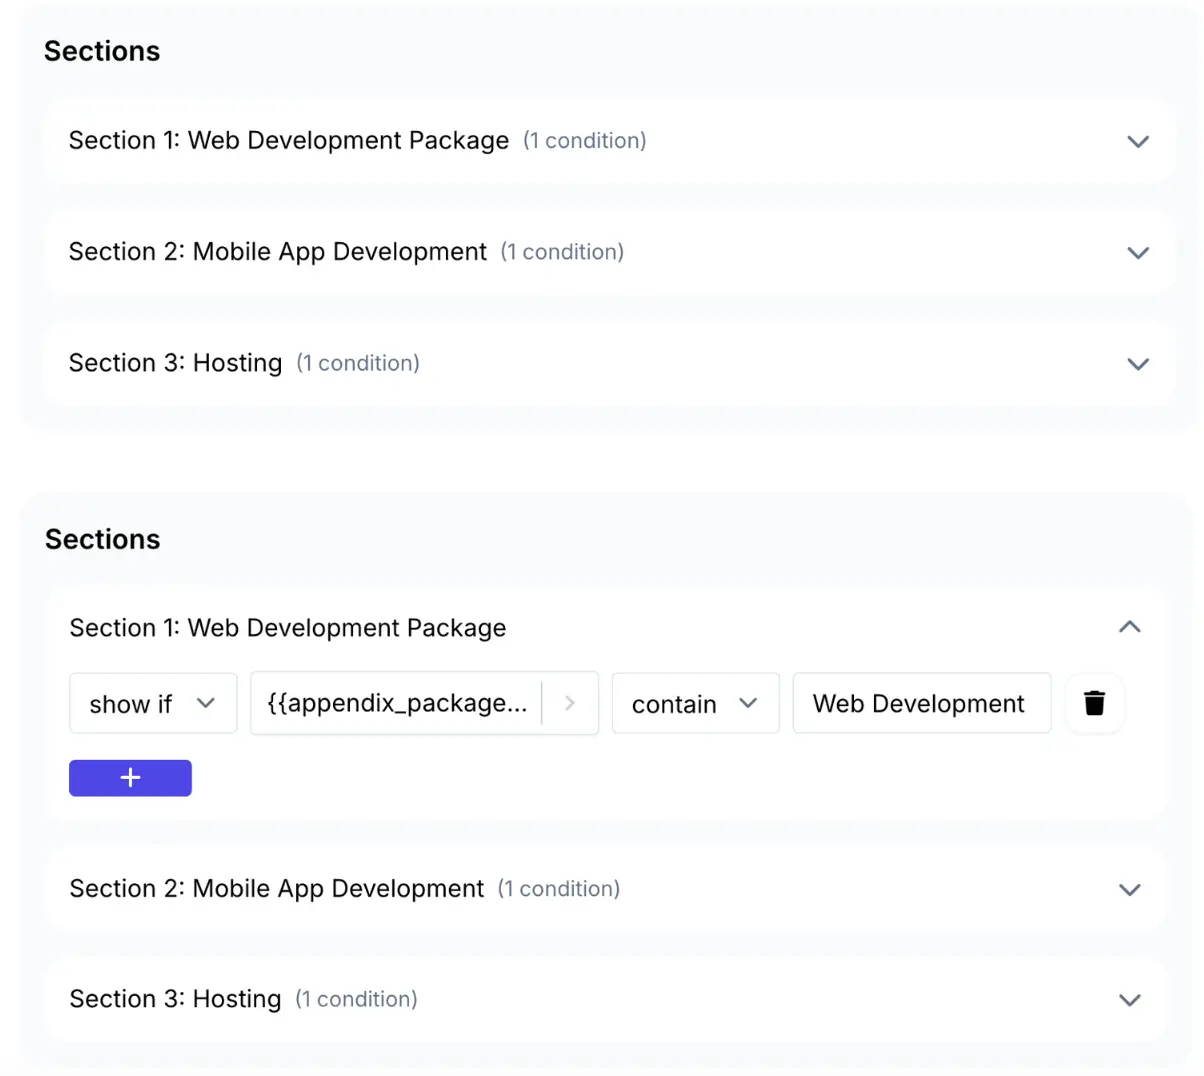
- In DocsAutomator, you can set ‘Show/Hide’ logic on text blocks or entire sections.
- Logic: Show the ‘Social Media Strategy’ section only if the {{Service Type}} field in Airtable contains ‘Social Media’.
Scenario 2: Dynamic Case Studies
Make the proposal feel bespoke by showing relevant work.
- In your template, place an image placeholder: {{image_case_study}}.
- In Airtable, use a formula or lookup field to pull a specific case study image based on the client's industry.
- When you generate a proposal for a ‘Healthcare’ client, the PDF automatically displays your ‘Hospital App’ case study image.
Learn more about dynamic sections to implement these two automation scenarios:
Step 8: Actions After Proposal Document Generation (Closing the Loop)
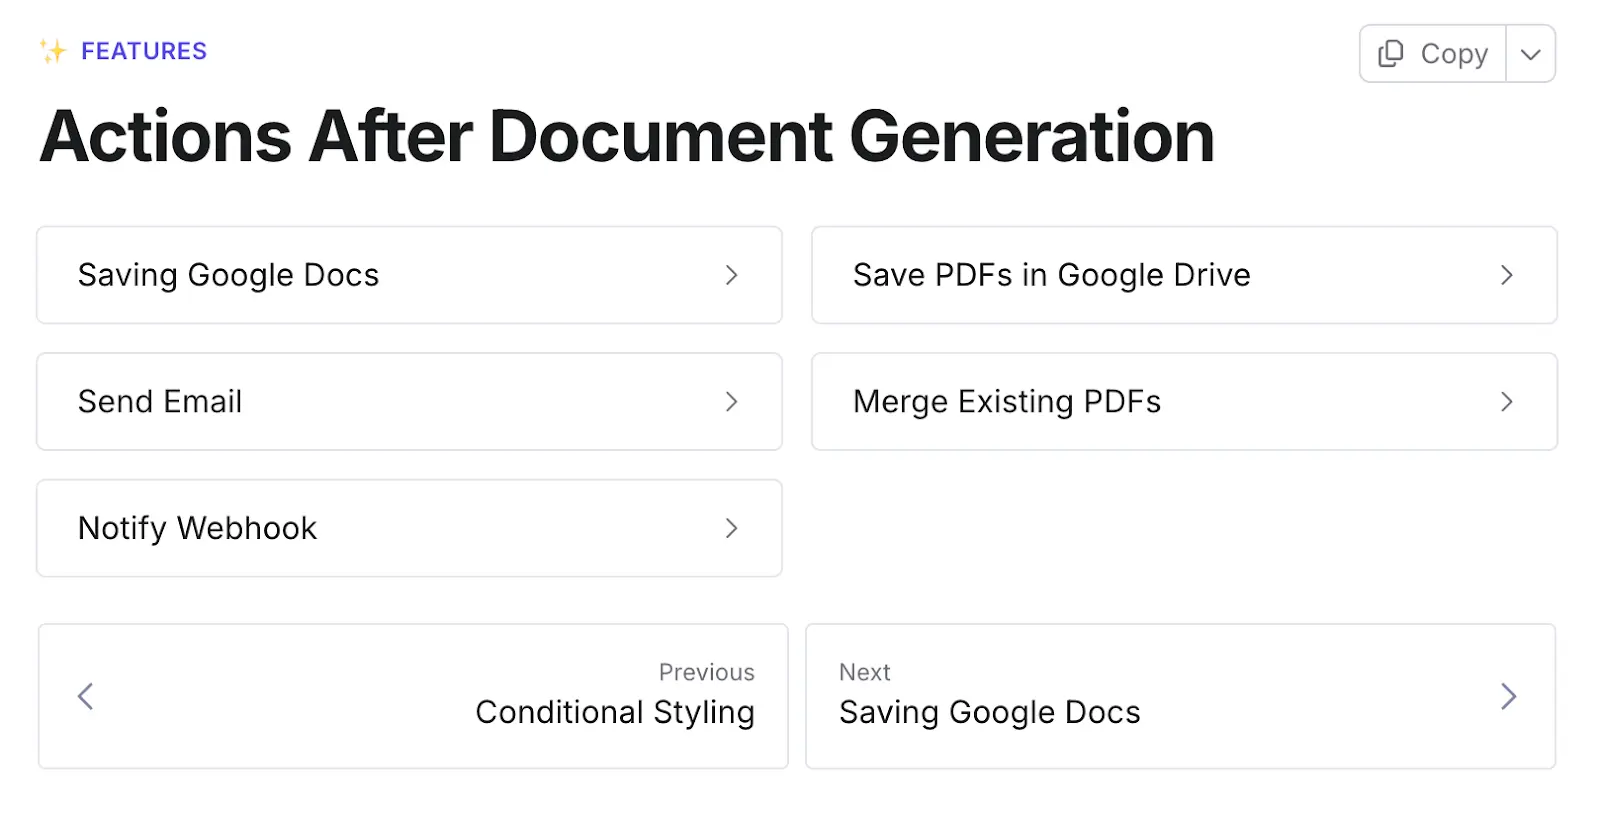
DocsAutomator doesn't just create the file; it handles the logistics. In the ‘Settings’ tab of your automation, you can configure what happens next:
- Save to Google Drive: Automatically save the PDF to a specific folder structure, e.g., My Drive / Clients / {{Client Name}} / Proposals /. This keeps your internal files organized without manual filing.
- Send via Email: You can configure DocsAutomator to email the PDF directly to the client (or to you for review) using a custom email subject line like ‘Proposal for {{Client Name}}’.
- Update Airtable: As mentioned in Step 6, the system automatically saves the final PDF back to your Airtable record, ensuring your CRM is always the single source of truth.
Get From Data to Deal-Ready in Seconds with DocsAutomator
By setting up this workflow, you have fundamentally changed how your agency operates.
- You eliminated errors: No more ‘Find and Replace’ mistakes where you forget to change the client's name.
- You saved time: A process that took 45 minutes now takes 1 click.
- You improved branding: Your proposals now look like professionally designed documents, not spreadsheet exports.
You have the data. You have the design tools. Now, you have the document automation engine.
Ready to build your first proposal document?
Start by downloading the free Google Docs Marketing Services Proposal Template and creating your free DocsAutomator account today. You can generate your first 20 documents completely free—more than enough to prove the value to your team.
We also offer a 50% discount to non-profits and educational institutions — contact us to avail the offer.