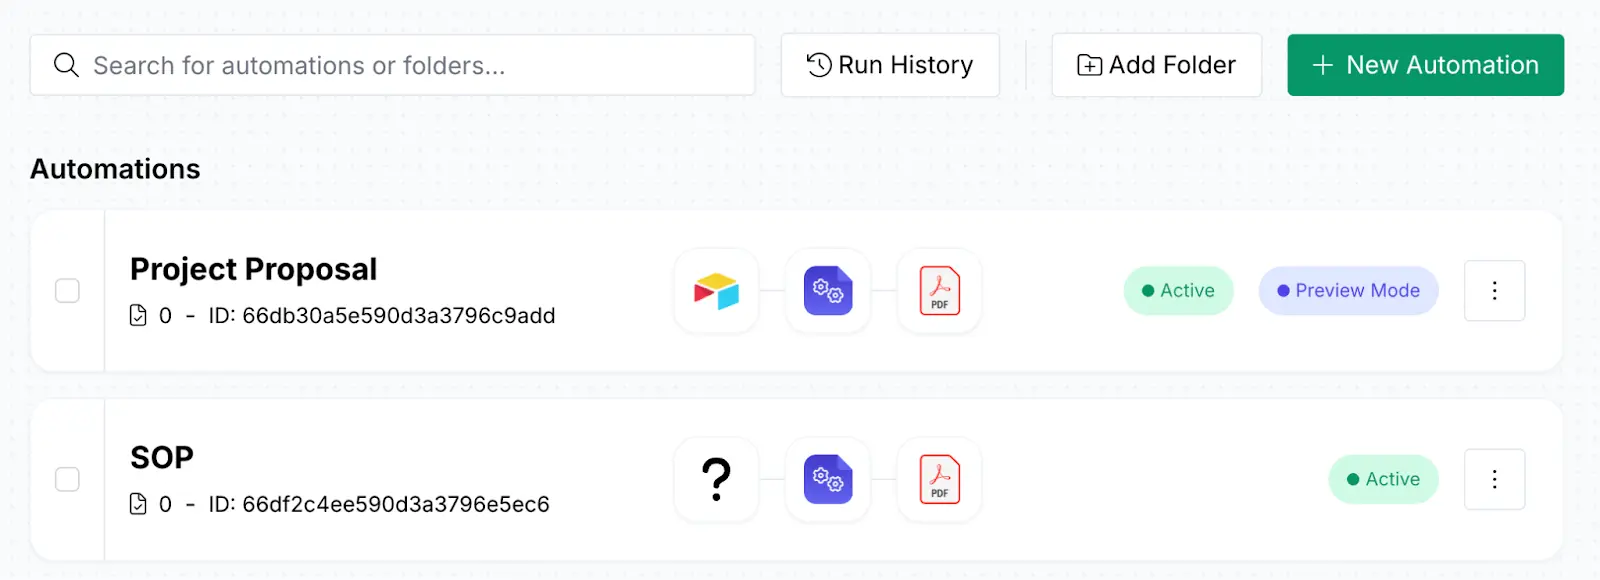
In this guide, we will teach you how to set up document automation using Airtable and DocsAutomator for marketing agency client reporting. This 3-step and one-time set up require no coding skills at all.
Today, many marketing agencies have adopted Airtable as a centralized hub for managing every client, project, and task. You can see project timelines, track deliverables, and manage team capacity, all in one place.
However, when it comes to building client reports, one has to manually export or copy paste data into a document, share manual commentary, and perform error checks.
Simply replace this with our Airtable to PDF document automation workflow.
We will show you, step-by-step, how to connect your existing Airtable base directly to DocsAutomator to generate Google Docs or PDF automatically in minutes.
The goal is to build an automated workflow that pulls data from your [Projects] and other tables and merges it into a pixel-perfect Google Doc/PDF template. This system eliminates manual data entry, ensures 100% consistency, and allows you to generate comprehensive client reports with a single click.
We will follow a 5-stage document automation process:
- Step 1: Architect Your Airtable Base: We will use the 'Marketing Agency Project Management' template as an example to showcase the automation.
- Step 2: Design the Google Doc Template: Build the dynamic report in Google Docs on DocsAutomator.
- Step 3: Configure the DocsAutomator Bridge: Connect your Airtable data to the Google Doc template on DocsAutomator.
- Step 4: Trigger the Automation: Choose the right method to generate your reports on DocsAutomator.
- Step 5: Complete the Loop: Automate client delivery and document archiving on DocsAutomator
Note: You can also extend this workflow to other industries (like design or app development agency) — simply modify the template as per your agency’s client reporting needs.
Step 1: Architect Your Marketing Agency’s Airtable Base
We will use the Marketing Agency Project Management Airtable template as an example to generate client reports.
If you are completely new, we would recommend starting by customizing this Airtable template as per your agency’s needs.

The ‘Marketing Agency Project Management’ template is already 90% of the way there. It’s built on a relational ‘one-to-many’ model that DocsAutomator is designed to read: one [Project] table is linked to many child tables like ‘Opportunities’, ‘Team Members’, ‘Tasks’, and more.
Our ‘Primary Table’ will be the [Projects] table, and our ‘Linked Table’ will be the other child tables. To prepare the base for automation, we just need to add a few ‘control’ fields to your existing [Projects] table.
Your Primary Table: [Projects]

This table is your automation's control panel. A single record in this table corresponds to a single project you'll be reporting on.
Navigate to your [Projects] table and add the following fields:
- Report_Name: A Formula field. This creates a unique filename for each report.
- Example Formula: CONCATENATE({Project Name}, ' - ', 'Client Report')
- Client_Email: An Email field. This is essential for the automated email delivery in Stage 5. You can likely make this a ‘Lookup’ field to pull the email from your linked [Clients] table.
- Report_Status: A Single Select field. Use options like ‘Draft,’ ‘Ready to Generate,’ and ‘Sent.’ This field can be used to trigger the automation in Stage 4.
- Final_Report_PDF: An Attachment field. This is the destination field. DocsAutomator will save the final, generated PDF back into this exact field.
- Generate_Report_Trigger: A Checkbox field. This provides a simple, manual way to trigger the report generation for a specific project.
Your Linked Table:
This table holds all the 'child' records (the individual deliverables, milestones, and tasks) that will be looped into your report. The template already includes the perfect fields for a client report, such as:
- Task Name (Text)
- Status (Single Select)
- Priority (Single Select)
- Due date (Date)
- Estimated amount of hours (Number)
Airtable Pro-Tip: Use a ‘View’ to Control Your Report's Content
This is the most critical and powerful part of the Airtable setup. How do you ensure that only 'Completed' tasks show up in the report? Or that internal notes are hidden?
You do this by creating a dedicated Airtable View. DocsAutomator will link to this specific view, inheriting all of its filters and sorting rules.
How to set up ‘View’ on Airtable:
- Go to your Project or relevant table.
- Click ‘Create a new view’ and select ‘Grid.’
- Name this new view something clear, like 'Client Report View.'
- In this view, add the following rules:
- Filter 1: WHERE {Status} IS 'Completed' (or any status you want to show the client).
- Filter 2: WHERE {Task Name} IS NOT EMPTY.
- Sort: SORT BY {Due date} (Ascending).
- Hide any fields you don't want to see, like 'Internal Notes.'
Now, when you configure DocsAutomator in Stage 3, you will tell it to only pull tasks from this 'Client Report View.' Your sorting and filtering logic is now controlled entirely within Airtable, where it belongs.
Stage 2: Design Your Google Doc Report Template
A core strength of DocsAutomator is that your template is a standard Google Doc. There's no new, complex software to learn. You can use all of Google's familiar formatting tools—fonts, headers, footers, and tables to design a beautiful, on-brand client report.
To make the template ‘smart,’ you just need to insert placeholders using a simple {{...}} syntax.
Simple Placeholders (from your [Projects] Table)
These placeholders map 1-to-1 with the fields in your [Projects] table.
- {{Project Name}}
- {{Project Type}}
- {{Start Date}}
- {{End Date}}
- You can even pull data from your linked [Company] table, such as {{Company Name}}.
Image Placeholders
To insert a dynamic image (like a chart you've attached to your [Projects] record), use the {{image_...}} prefix.
- {{image_Project_Performance_Chart}}
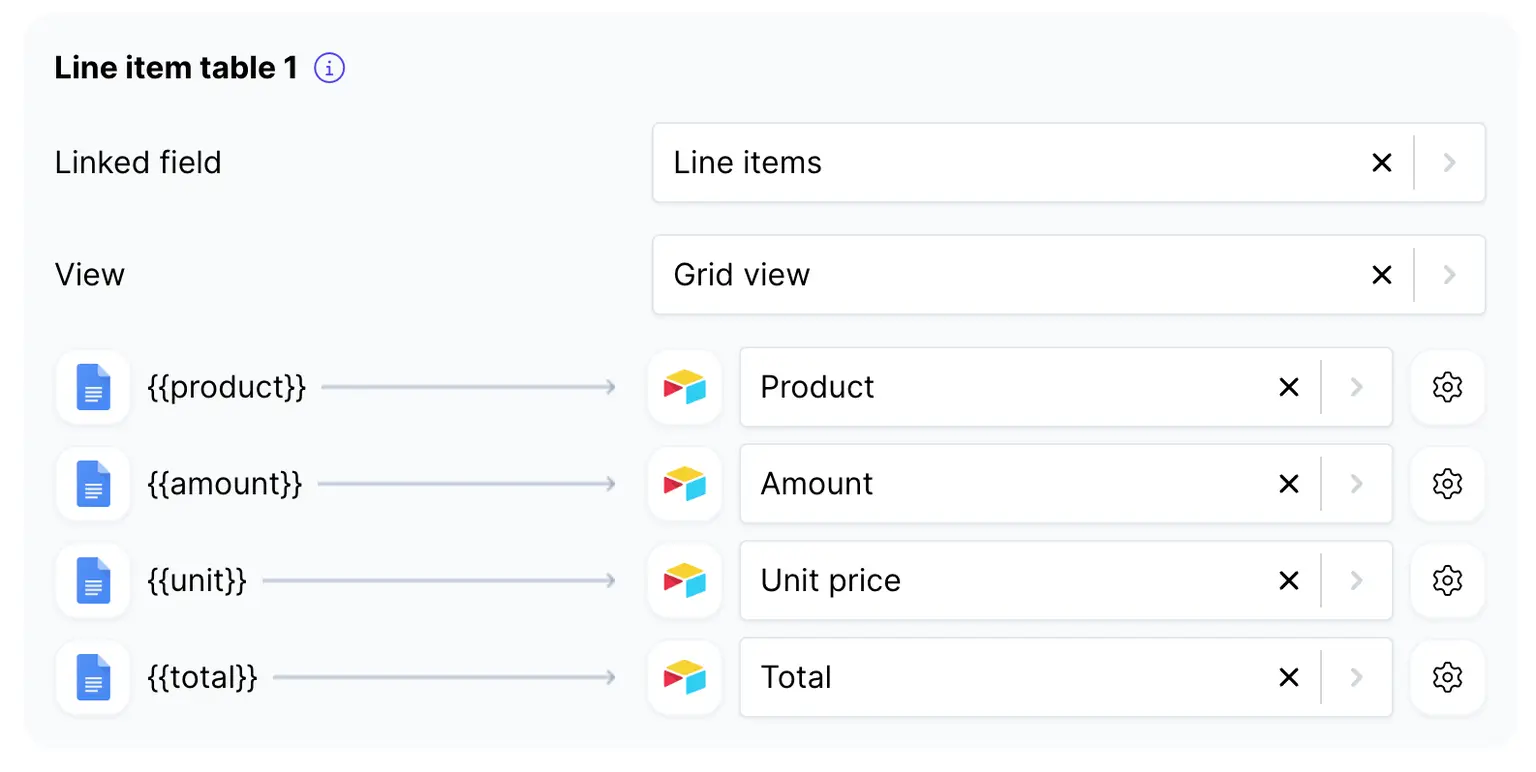
Dynamic Line Items (from your Primary Table)

This is how you dynamically list all your completed tasks. DocsAutomator uses a simple, powerful syntax for this: {{line_items_...}}.
- In your Google Doc, create a table with headers for the task data you want to show.
- In the very first cell of the row you want to repeat, type the special tag {{line_items_1}}.
- In the other cells in that same row, use the standard {{...}} placeholders for the fields from your primary table.
When the automation runs, DocsAutomator will find the {{line_items_1}} tag. It will then loop through every single task it finds in your 'Client Report View' and re-create that table row for each one, populating it with the correct data.
Stage 3: Configuring the DocsAutomator Automation Bridge
Now we'll connect your Airtable data (Stage 1) to your Google Doc template (Stage 2) inside the DocsAutomator platform.
- Create New Automation: Log in to DocsAutomator and click ‘New Automation.’
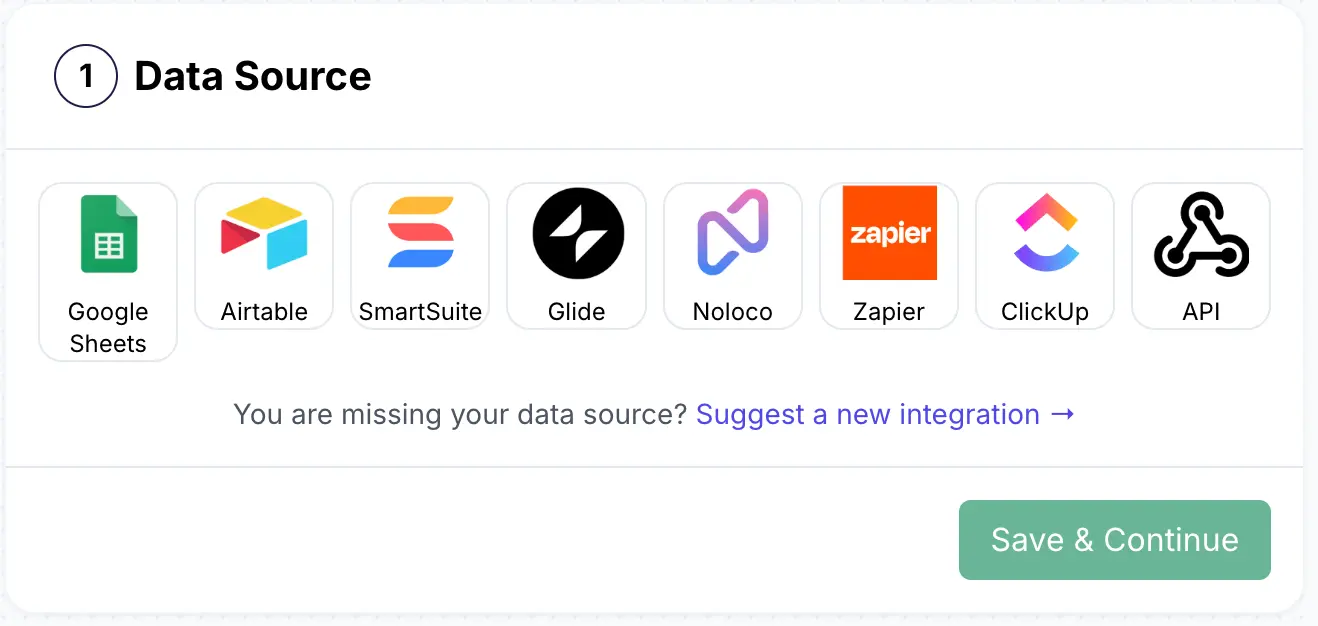
- Data Source: Select Airtable. Connect your account and grant it permission to access your 'Marketing Agency Project Management' base.
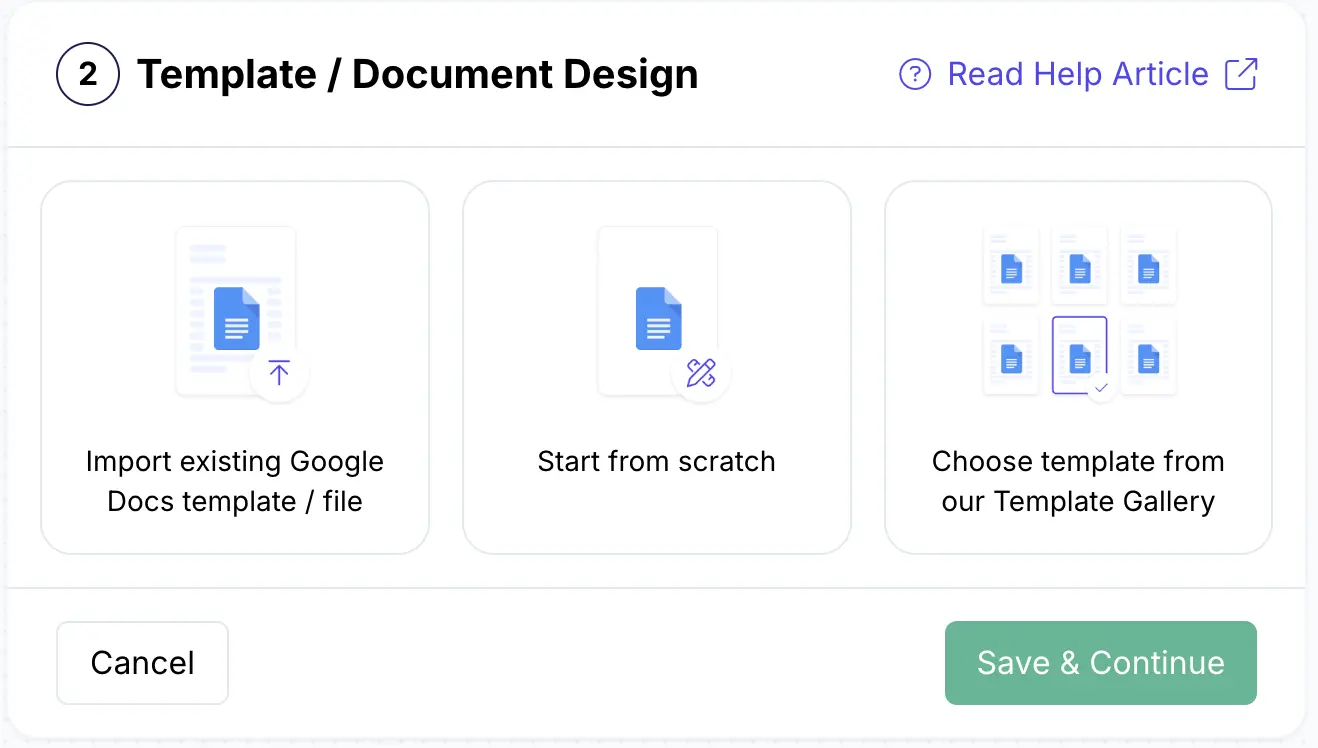
- Google Doc Template: Connect to your Google Drive where the Google Doc template you just created is saved and select the file:
Airtable Mapping: The 'Where'
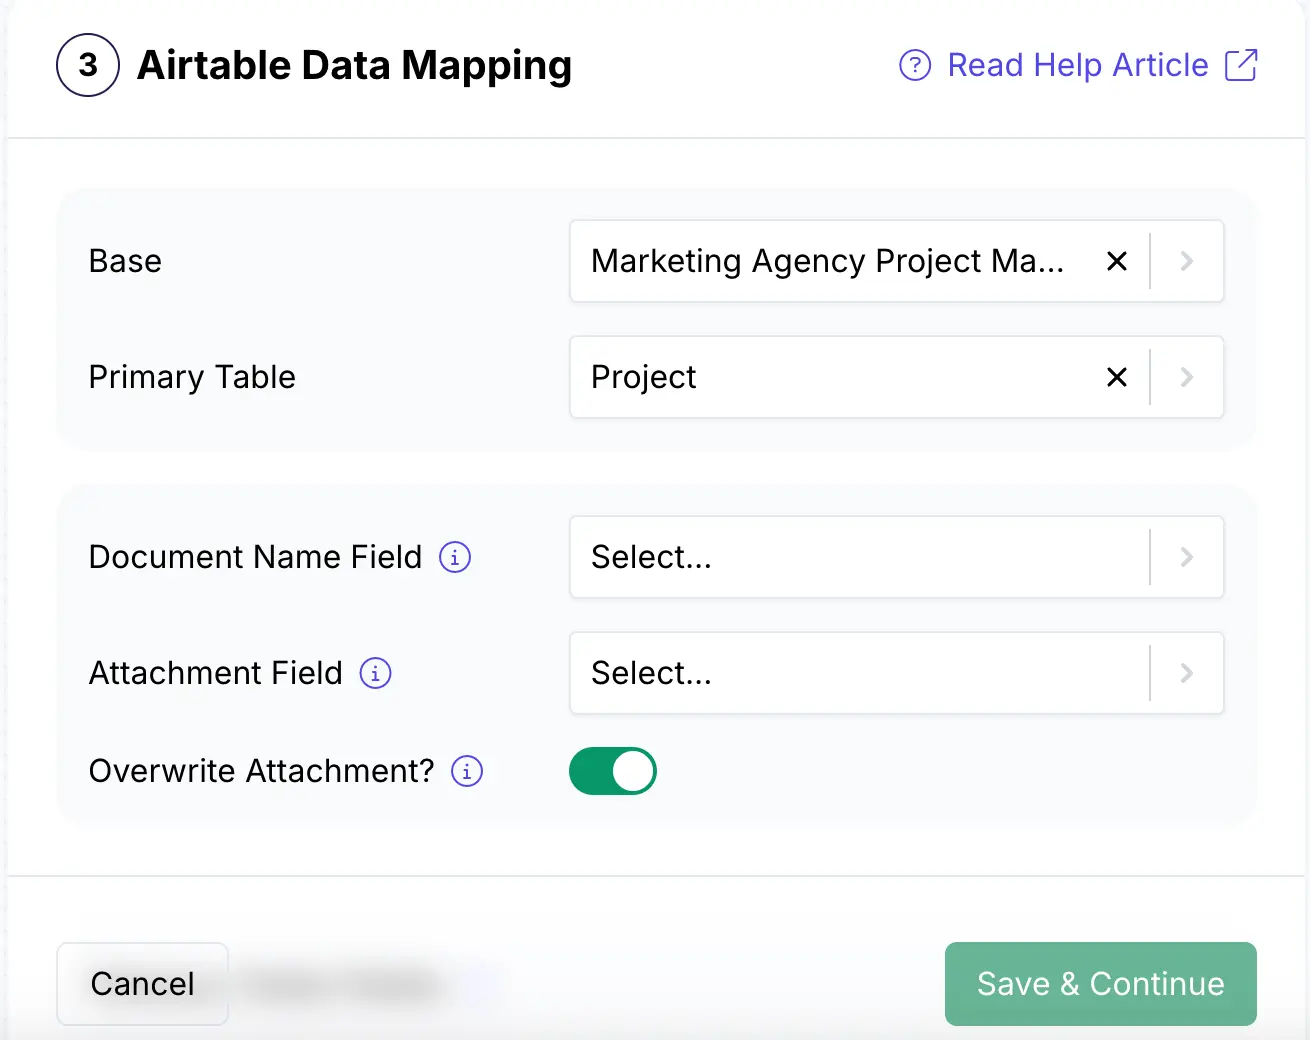
This section tells DocsAutomator where to find your data and where to save the final report.
- Airtable Base: Select your 'Marketing Agency Project Management' base.
- Primary Table: Select your [Projects] table.
- Document Name: Map this to the Report_Name formula field you created.
- Attachment Field: Map this to your attachment field.
Tip: Override Attachment Field: Set this to ON. This ensures that when you re-run a report, the new PDF replaces the old one in your chosen fields, preventing clutter.
Data Mapping: The 'How'
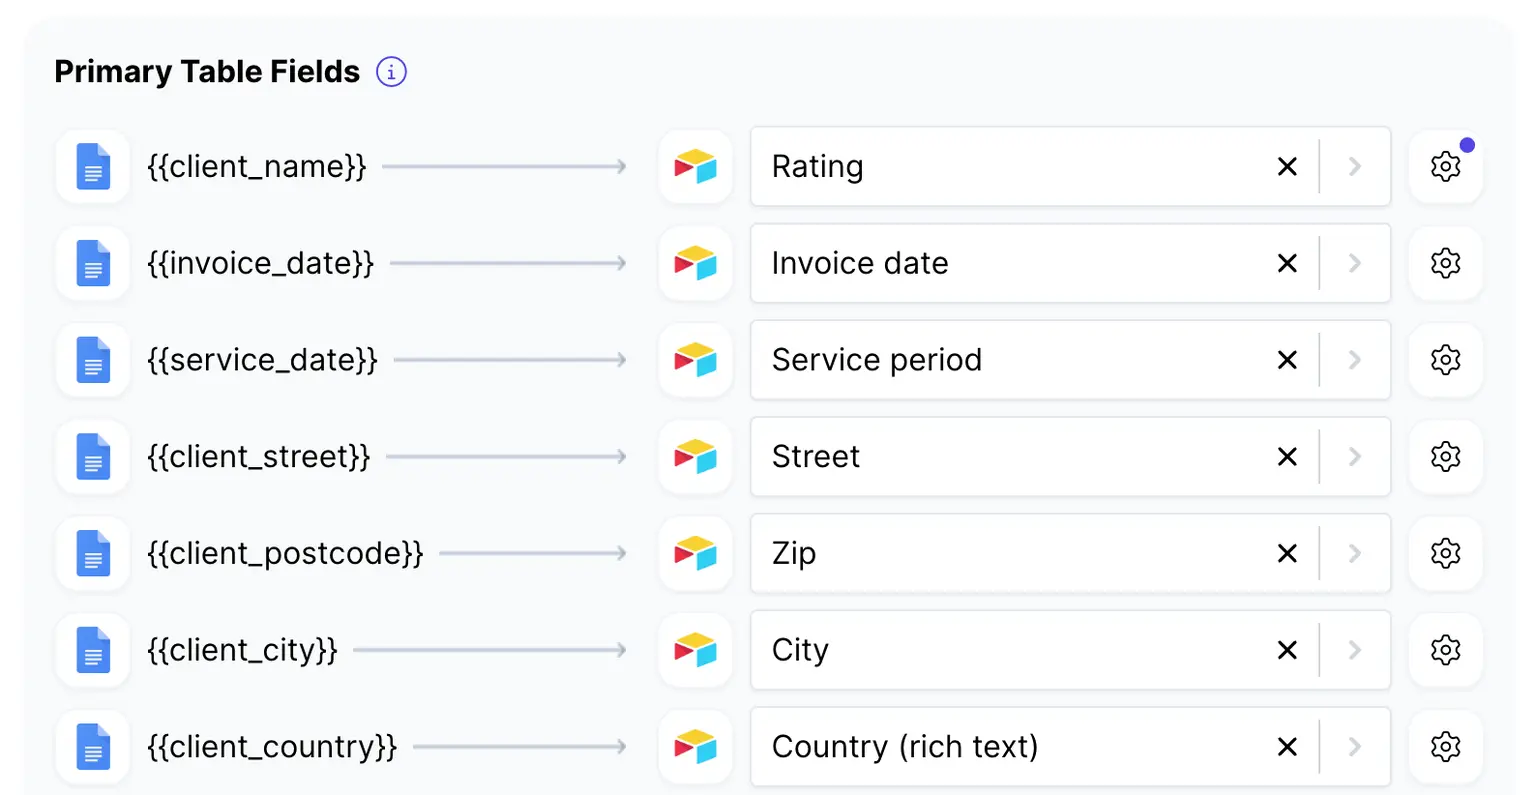
This is where you connect the dots. DocsAutomator will show you every placeholder it found in your template.
- Primary Table Fields: Map each placeholder (e.g., {{Project Name}}, {{Client Name}}) to its corresponding field in your [Projects] table.
- Line Items (line_items_1): This section is for your ``.
- Link Field: Select the linked record field in your [Projects] table that points to your tasks.
- View: This is the critical step. Select the 'Client Report View' you created in Stage 1.
- Map Fields: Now, map the placeholders from your table's data row (e.g., {{Status}}, {{Due date}}) to the corresponding fields in your `` table.
DocsAutomator is also powered with AI – you can also explore mapping fields using AI features.
Test with Free Previews

Before activating, use the 'Create Previews' tab to test your setup. Select a project from your [Projects] table and generate a watermarked preview. Check it carefully: Is the project info correct? Are only the completed tasks appearing? Are they sorted by the correct date? If not, simply go back and adjust your 'Client Report View' in Airtable and run a new preview.
Tip: Save Google Doc?: This is a powerful feature. If you enable it, DocsAutomator will generate an editable Google Doc instead of a PDF, allowing for a final manual review.
Stage 4: Choosing Your Trigger: Manual vs. Full Automation
You have two primary methods for triggering the report generation. Both are set up by copying a script from DocsAutomator and pasting it into Airtable. Your choice depends on your workflow and your Airtable plan.
Learn more: DocsAutomator X Airtable integration
Method 1: The ‘Human-in-the-Loop’ (Scripting Extension)
This method is ideal for workflows that require a final, manual approval. A project manager reviews the data in Airtable, then clicks a button to generate that one specific report.
- Airtable Plan: Requires a paid Airtable plan (any paid tier) to use Extensions.
- Setup:
- In DocsAutomator, copy the code from the Scripting extension tab.
- In your Airtable base, click 'Extensions' (top-right) and add the ‘Scripting’ extension.
- Paste the code from DocsAutomator into the script editor.
- Link to a Button: In your [Projects] table, add a new Button Field. Set the ‘Action’ to ‘Run script’ and select the script you just configured. Title the button ‘Generate Report.’
Method 2: The ‘Set it and Forget It’ (Automation Script)
This is for true, background automation. For example, when a Project Manager changes the Report_Status field to ‘Ready to Generate,’ this automation runs automatically.
- Airtable Plan: Requires an Airtable Pro plan, as the 'Run a script' action is a Pro feature.
- Setup:
- In DocsAutomator, copy the code from the Automation script tab.
- In your Airtable base, click 'Automations' (top-left).
- Set a Trigger: 'When record matches conditions' (e.g., WHERE {Report_Status} IS 'Ready to Generate').
- Add an Action: 'Run a script'.
- Paste the script from DocsAutomator.
- Critical Step: You must add an Input Variable.
- Name: recordID (this is case-sensitive)
- Value: Select the 'Airtable record ID' from the trigger step.
Stage 5: Completing the Loop: Automated Client Delivery
Generating the PDF is only half the battle. DocsAutomator completes the workflow with 'Actions After Document Generation'. These run immediately after your PDF is created.
Action 1: Automated Client Email
Here’s a detailed tutorial on sending email after document generation:
Send Email after Document Creations
Enable the 'Send Email' action in your DocsAutomator settings. This is a complete, dynamic email system:
- Sender: You can use DocsAutomator's reliable mail service or connect your own Gmail account for a fully branded 'from' address.
- Recipients: Use placeholders to pull the email address directly from your Airtable record: {{Client_Email}}.
- Subject: Personalize the subject line: Report for {{Project Name}}.
- Body: Write a template email and populate it with data: 'Hi {{Client Name}}, please find your attached project report...'.
The generated PDF is attached to this email by default. The moment your automation runs, a fully personalized email with the correct report is sent to the correct client, with zero manual effort.
Action 2: Automated Google Drive Archiving
Enable the 'Save PDFs in Google Drive' action to create a perfectly organized internal archive. We have published a detailed video on the same:
Automatically Saving PDFs in Google Drive
The 'Subfolder Name' field accepts your Airtable placeholders to build dynamic folder paths.
- Example Path: Clients/{{Client Name}}/Project Reports/{{Project Name}}
- How it works: When a report for 'Acme Corp' on the 'Q3 Campaign' is generated, DocsAutomator checks if that folder path exists in your Google Drive. If not, it creates the Clients, Acme Corp, and Project Reports folders automatically, then saves the PDF in the final location. This is your scalable, set-it-and-forget-it filing system.
Get started with 20 lifetime free documents
With DocsAutomator free plan, you can create 20 lifetime free documents – perfect to test the client reporting workflow described on this guide. For more documents and features, explore our paid plans, with 50% discounts available for non-profits and educational institutions.
Your Airtable base remains the single source of truth for all project data. Your Google Doc serves as a beautiful, on-brand template. And DocsAutomator acts as the intelligent, automated bridge that connects them.
If you need help, explore our Template Creation Service, delivered in 1-3 working days — at only $99 per template.
With this simple set up, your marketing agency eliminates hours of error-prone and manual report building. It gives your project managers the power to generate comprehensive, client-ready reports with a single click (or automatically) and ensures that reports are instantly delivered to clients and archived in your internal drive.
You can now spend less time reporting on your work and more time doing it — sign up for DocsAutomator today for free.